Open installer:

Click Modify.
Add Desktop Development with C++

Leave other settings as default and click modify
Download OpenCV from:
https://opencv.org/
Go to Library >> Releases and Download OpenCV for windows:

Create a new folder C:\OpenCV-4.5.5
Extract there using the downloaded exe
Setting environment variables:
Add
C:\OpenCV-4.5.5\opencv\build\x64\vc15\bin
to path
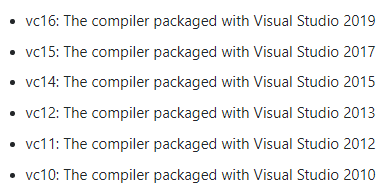
https://en.wikipedia.org/wiki/Microsoft_Visual_Studio#History
Open Visual Studio and create a new project: C++ Console App

Solution platforms must be changed from x86 to x64
Debug for x64

Add OpenCV to libraries:
Change Project Properties - Linking OpenCV
Go to :

1. Configuration Properties/VC++ Directories to add the include and library directories for OpenCV
For the Include directory, you have to add the following path: C:\OpenCV-4.5.5\opencv\build\include. Do the same for the Library Directories adding this internal path: C:\OpenCV-4.5.5\opencv\build\x64\vc15\lib.


CMake:
